Two things make this job harder than it looks. Getting a Promaster bezel off is genuinely awkward, unlike the Seiko divers whose method everyone copies. And the popular aftermarket inserts fit the diameter of a Promaster while being completely the wrong height.
This post contains affiliate links. We may earn a small commission if you purchase through them, at no extra cost to you.
Insert or Bezel? They Are Different Parts
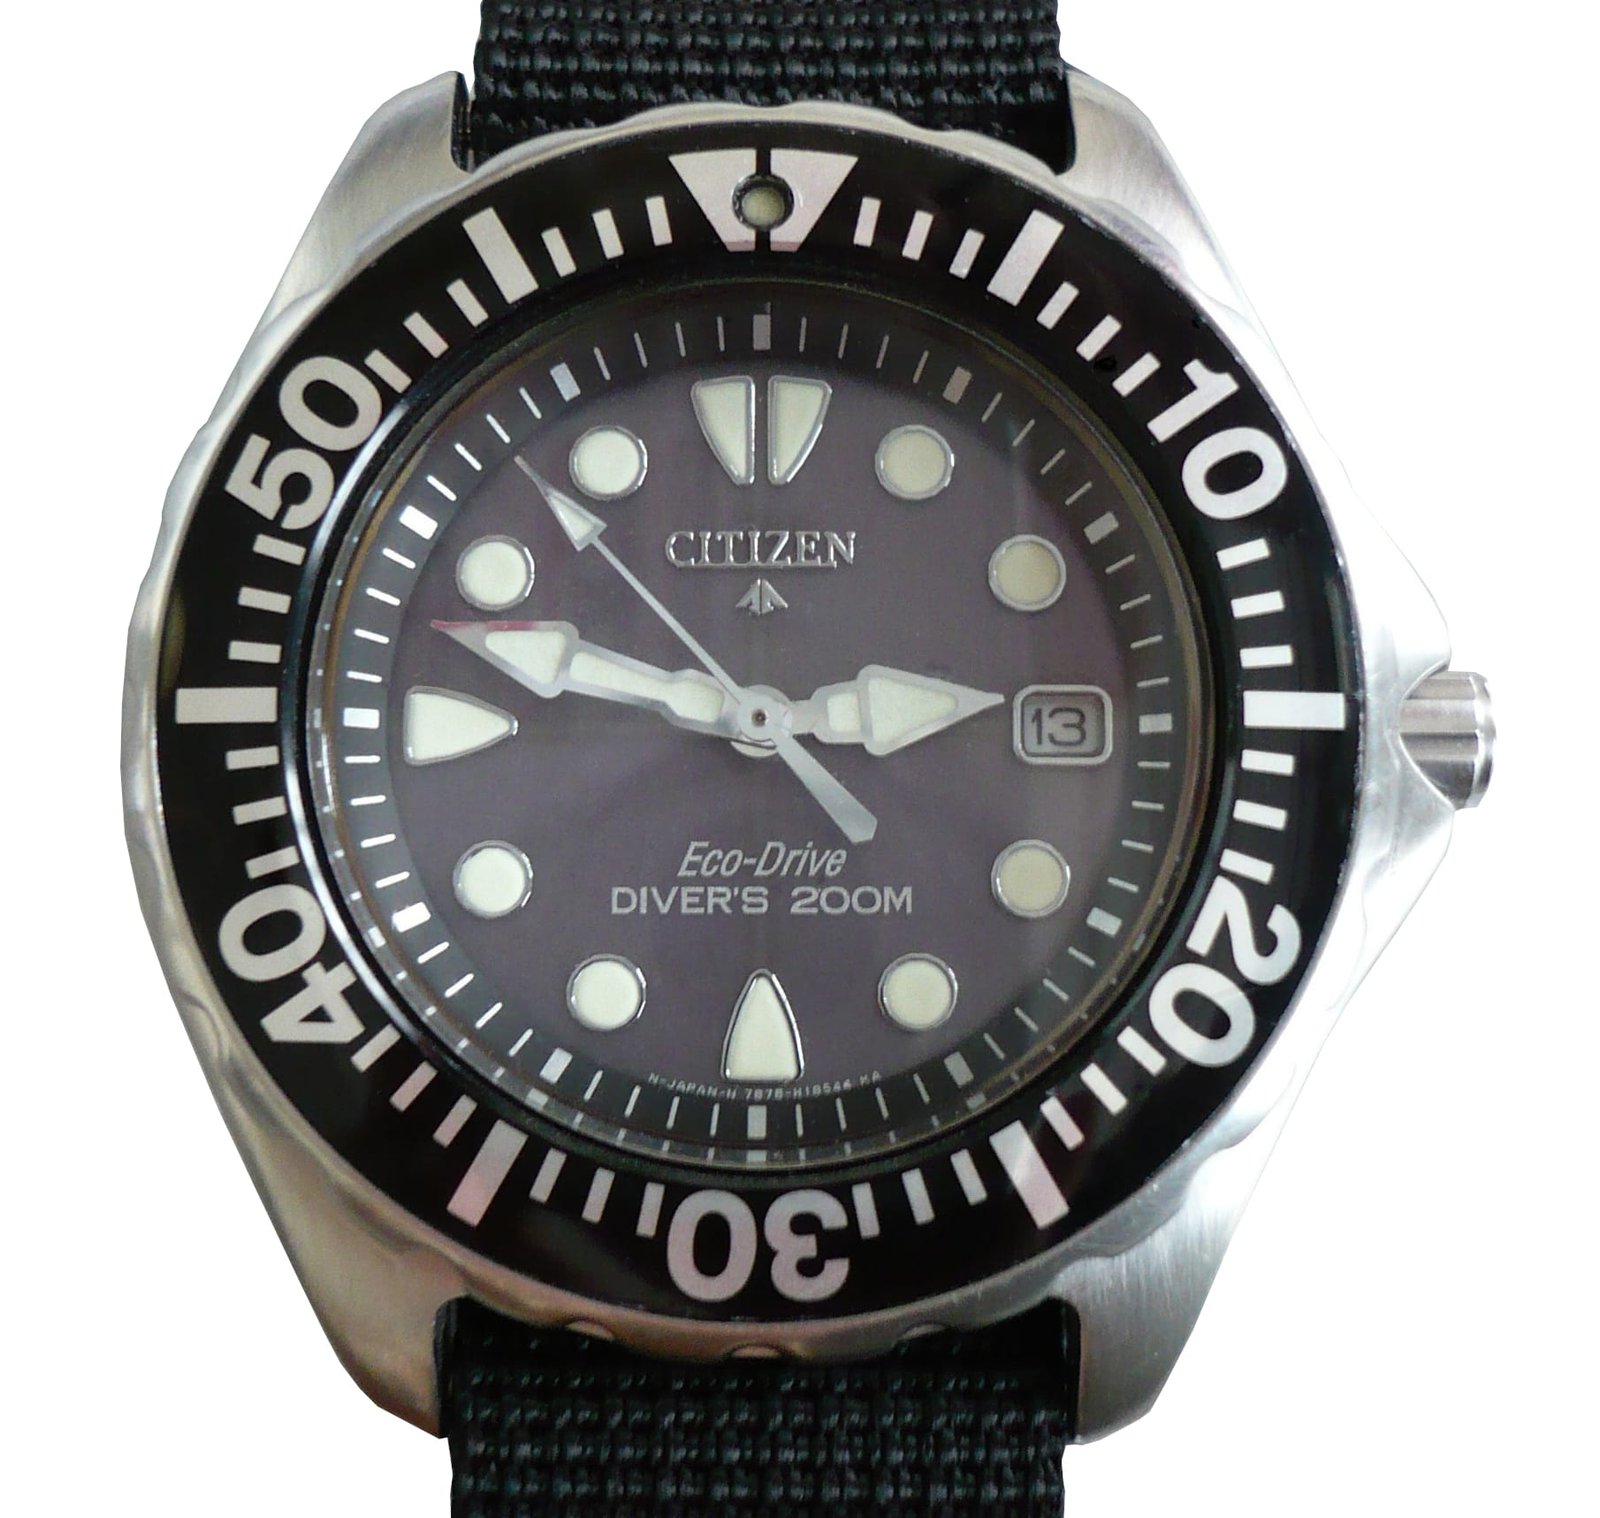
The bezel is the rotating steel ring, with the click spring underneath that gives it the ratchet feel. The insert is the printed disc sitting in the top face of it, carrying the minute markings and the lume pip. Faded, scratched or chipped markings mean you need an insert, and the bezel itself is fine.
Inserts are held on with double-sided adhesive, nothing more. That is why replacing one is realistic at home.
The Height Trap
This is where money gets wasted. The BN0150 and BN0151 series Promasters take a 31.5mm insert, which is the same diameter as the Seiko SKX007 and SKX009. Those SKX inserts are cheap, endlessly available in every colour, and the obvious upgrade path.
They do not drop straight in. The original Citizen insert is noticeably taller than an SKX one, and it has a recess machined into it to clear the crystal while still letting the bezel turn freely. Fit a flat SKX insert and you end up with the wrong height relationship to the crystal.
There are two ways round it. Grind or lathe the original insert down, which most people should not attempt. Or use a drop-in spacer, a printed ring that sits on the remaining adhesive and lifts a flat insert to the correct height. Spacers made specifically for this Promaster to SKX conversion are sold for a few pounds, and they are the sane option.
If you are fitting a genuine Citizen insert for your reference, none of this applies. The problem is specific to borrowing Seiko parts.
Getting the Bezel Off Is the Risky Part
On a Seiko diver you slide a case knife between the case and the bezel and pop it off. Promaster owners try the same thing and find it does not work, and that the bezel is considerably more reluctant.
Every guide to this job carries the same warning: the bezel may not come off cleanly, and forcing it mangles it. A mangled bezel is a much worse problem than a faded insert, because the insert costs a few pounds and the bezel does not.
- Work slowly around the whole circumference rather than levering hard at one point.
- Put masking tape on the case beside the bezel. A slipped blade lands on tape rather than on steel.
- Use a plastic pry tool or a guitar pick to finish once you have a gap started.
- Note where the click spring sits before the bezel comes free, and keep it somewhere it cannot ping away.
Swapping the Insert
- Measure your existing insert before ordering anything. Do not rely on a model number matching a listing.
- With the bezel off, warm the insert gently with a hairdryer to soften the adhesive. Gently is the operative word near lume and printing.
- Lift the old insert out with a thin blade, working around the edge.
- Clean the adhesive residue off with isopropyl alcohol until the seat is properly flat. Leftover lumps will hold the new insert crooked.
- Fit the new adhesive ring, or use the pre-cut rings that usually come with aftermarket inserts.
- Dry-fit the insert first and check the pip lines up with 12 before committing. Once the adhesive grips, adjusting it is awkward.
- Press evenly from the centre outwards, and leave it under light pressure for a few hours.
If you are fitting a ceramic insert rather than aluminium, handle it as the brittle object it is. Ceramic will not tolerate being flexed or tapped into place.
Where to Buy
Aftermarket inserts are widely stocked, and for a discontinued Promaster reference they are often the only realistic option. A typical flat aluminium SKX007 insert measures 38.1mm outside, 31.5mm inside, 1.00mm thick, with a lume pip at 12.
Note those numbers against the section above. The 31.5mm inner diameter is why these fit a BN0150 series Promaster at all, and the 1.00mm flat profile is exactly why you also need a spacer. Buying the insert without the spacer is the mistake this whole article exists to prevent.
Conclusion
Measure the insert rather than trusting a model listing. If you are going the SKX route, budget for a spacer rather than assuming a flat insert will sit right. And take your time getting the bezel off, because that is the step that turns a cheap cosmetic refresh into a hunt for a replacement part.
Related Guides
- G-Shock band and bezel replacement: the same job on a screwed resin bezel rather than a pressed steel one.
- Why your Citizen Eco-Drive stopped charging: worth reading if the watch has been sitting unworn while you sourced parts.
- Citizen Eco-Drive losing time after a full charge: the other common Promaster complaint, and why it is rarely the cell.
Image credits: Citizen Promaster photographs via Wikimedia Commons.