Taking links out of a Seiko Presage bracelet is straightforward. Getting them back in is where people lose an afternoon, because most Presage bracelets use a pin and collar system rather than screws, and the collar is a loose part that falls out the moment the pin clears it.
This post contains affiliate links. We may earn a small commission if you purchase through them, at no extra cost to you.
Try the Clasp First
Before removing anything, check the clasp. Many Seiko clasps have micro-adjustment holes that shift the spring bar along two or three positions. That is often the entire adjustment you need, and it takes a spring bar tool and two minutes.
Identify Which System You Have
Seiko does not use one design across the range. Its official bracelet sizing manual covers several, including split-pin, waved-split-pin, and pin with pipe. Presage models generally use pin and collar.
- Pin and collar. A plain pin held by a small separate sleeve seated inside the centre link. Look sideways into the link hole and you will see the collar sitting in a recess.
- Split pin. The pin itself is slotted and grips by spring tension. No separate collar.
- Screwed. A slot in the pin head. Only needs a jeweller’s screwdriver.
If a collar drops out onto your desk when the pin comes free, you have pin and collar. Stop and find it before doing anything else.
Follow the Arrows
Turn the bracelet over. The centre links carry small arrows showing which way the pins come out. Push against them and you will bend a pin or deform a link.
Removing the Links
- Work on a soft cloth, with your elbows resting on the surface. Stability matters more than strength here.
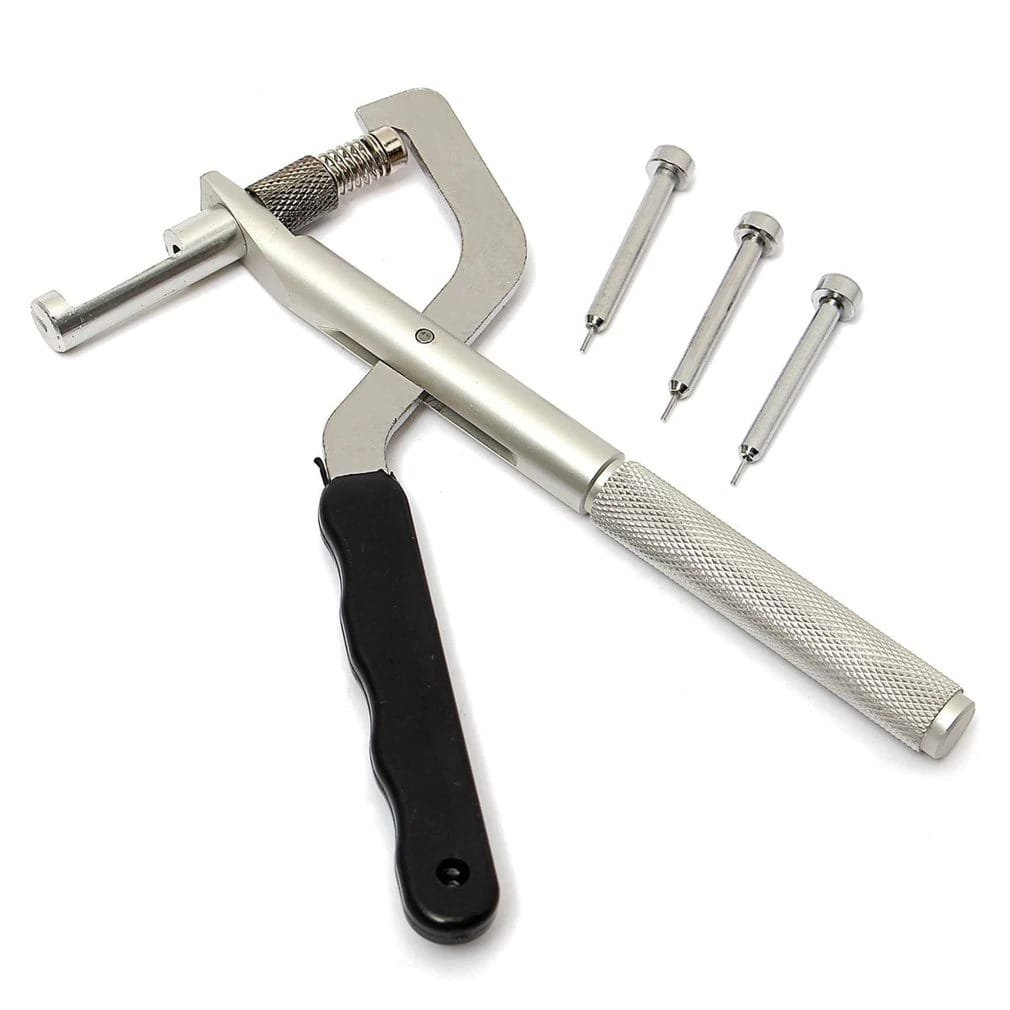
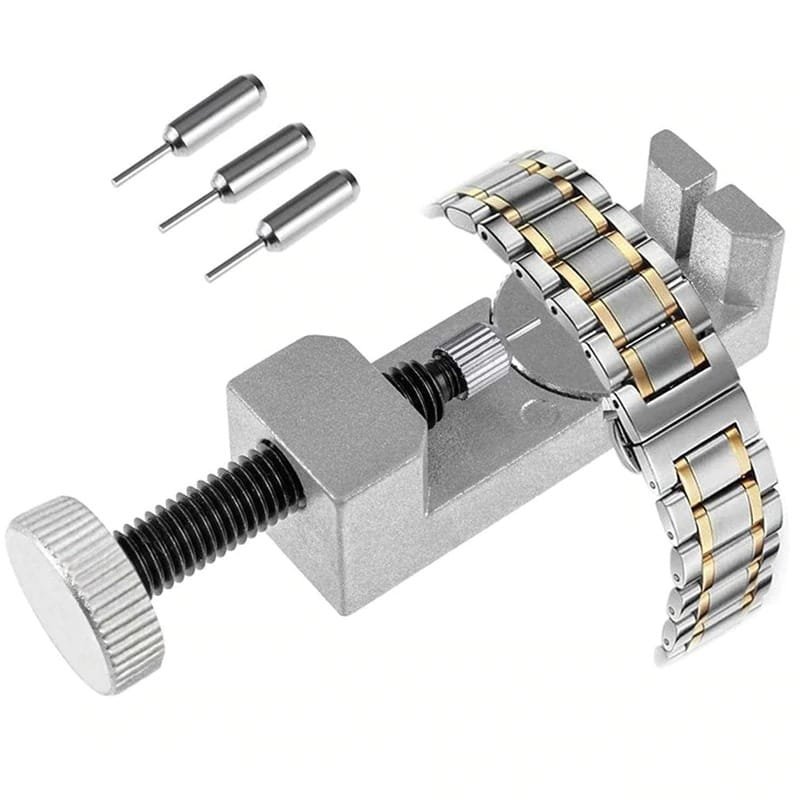
- Seat the bracelet in the holder with the arrows pointing the right way for the pin to exit.
- Turn the press slowly until the pin head clears the link. Do not tap it through.
- Draw the pin out the rest of the way with pliers or tweezers.
- Note where the collar sits before it moves. Which side of the link it occupies varies, and you will need that detail in ten minutes.
- Remove links evenly from both sides of the clasp so it stays centred on your wrist.
The Reassembly Problem
This is the step that defeats people, and it is worth knowing before you start rather than after.
You line the links up, drop the collar in, start pressing the pin, and the pin simply pushes the collar straight out the far side. Press harder and it happens faster.
The fix is to hold the collar in place while the pin goes in. Something blunt and slightly soft against the far side of the link works: the tip of a ballpoint pen is the commonly used trick. Hold it there, press the pin in from the opposite side, and the collar stays seated.
Two things that make alignment easier. Insert the pin halfway first, without pushing it through the collar, to hold the two link ends together. And a strip of masking tape across the joint stops everything sliding apart while you work.
What Actually Causes Damage
- Squashing a split pin. Seiko’s manual warns about this directly. Deform the open end and the pin will no longer grip, so it works loose and eventually drops out on your wrist.
- Losing the collar. They are tiny, they bounce, and a bracelet is unusable without one. Work over a tray or a towel.
- A hammer instead of a press. Tapping bends pins and scars link faces.
- Forcing against the arrow. The single most common way to ruin a link.
Keep the Links
Put the removed links and their pins somewhere you will find them again. Wrists change, watches get sold on, and a Presage bracelet missing two links is worth noticeably less than a complete one.
If the bracelet itself is beyond saving rather than just too long, replacement Seiko-compatible bracelets in 20 and 22mm are listed for the Presage and Prospex lines and usually include the link tool, so you would not need to buy one separately.
Conclusion
Use the clasp adjustment first. Identify your pin type before touching a tool. Follow the arrows, press rather than hammer, and above all note where the collar sits and hold it in place on the way back in. Done in that order this is a fifteen minute job rather than a trip to a jeweller.
Related Guides
- How to regulate a Seiko automatic at home: another job that needs a press and patience rather than force.
- Seiko 5 accuracy: what spec to actually expect: what the movement inside a Presage or Seiko 5 should be doing.
- Why is my Seiko automatic watch losing time?: worth checking if the watch has been off the wrist during resizing.
Image credits: product images via Parts for Watch.